Lumen Lighting for Indies: Good Results Without Melting Your GPU
Lumen is one of Unreal Engine 5’s headline features — real-time global illumination that responds instantly to changes, no more waiting for light builds, no more “LIGHTING NEEDS TO BE REBUILT” warnings haunting your viewport. But there’s a catch: Lumen was designed for high-end hardware, and if you’re targeting the GTX 1060s and RX 580s common among indie developers and their audiences, you need to understand what you’re working with.
Here’s the honest truth: Lumen completely disables itself at Low and Medium quality presets, and Epic’s official minimum spec is a GTX 1070. This guide covers how to push Lumen’s limits on constrained hardware — and when baked lighting is actually the smarter choice.
We’ve been working through these tradeoffs ourselves while developing Dreamless Kingdom. Not every project needs fully dynamic global illumination, and sometimes accepting Lumen’s limitations early saves you from painful optimization work later.
What Lumen Actually Does
Lumen handles two things: Global Illumination (GI) and Reflections. Both use the same underlying system but sample differently.
The pipeline works like this: every ray follows the same path through Screen Traces → Software/Hardware Ray Tracing → Skylight fallback. Screen traces check against your depth buffer first, catching fine contact detail cheaply. Rays that miss pass to either software ray tracing (using distance fields) or hardware ray tracing (using actual geometry). Finally, anything that misses everything samples your skylight.
The key innovation is the Surface Cache — a pre-computed, simplified representation of your scene captured through projected “cards” on mesh surfaces. Instead of evaluating expensive material shaders at every ray hit, Lumen just looks up values from this cache. This is what makes real-time performance possible, but it’s also why Lumen struggles with thin walls and very small objects.
Understanding this helps you optimize: Lumen’s cost comes from tracing rays through your scene, shading them from the Surface Cache, and then filtering the noisy results into clean lighting. Each step has knobs you can turn.
For GI, Lumen samples your scene at roughly 1/16th screen resolution using hemispherical sampling — meaning it’s checking light coming from all directions above each surface. Reflections use importance-sampled GGX based on surface roughness, concentrating rays where they matter most. Both systems share the Surface Cache and tracing pipeline, which is why you can’t really optimize one without affecting the other.
Hardware vs. Software Ray Tracing
Lumen offers two tracing modes, and choosing correctly matters a lot for performance.
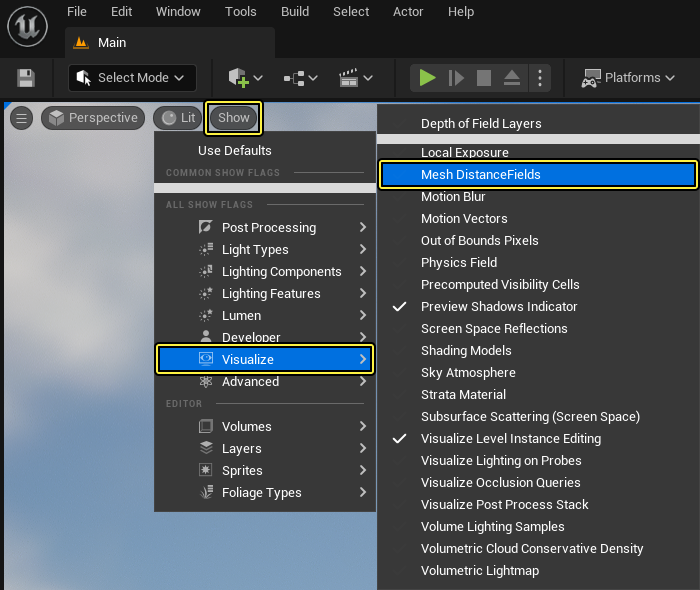
Software ray tracing is the default. It uses Mesh Distance Fields — 3D volume textures that store the distance to the nearest surface for each mesh in your scene. Rays “sphere trace” through these fields, efficiently skipping empty space. This mode works on any GPU that supports UE5, handles overlapping geometry well (great for kitbashing), and achieves 60 FPS on current-gen consoles when properly optimized.
The tradeoff: distance fields can’t capture features thinner than their voxel resolution, and they don’t support skeletal mesh GI.
Hardware ray tracing uses DirectX Raytracing (DXR) to trace against actual triangles via a BVH acceleration structure. It offers two sub-modes:
- Surface Cache mode: Fast. Traces rays but samples lighting from the pre-computed cache. Similar quality to software RT for most scenes.
- Hit Lighting mode: Expensive. Evaluates full materials at every hit point. SIGGRAPH data from The Matrix Awakens showed Hit Lighting at 11.54ms versus Surface Cache at 2.44ms for reflection tracing on PS5 — nearly 5x slower.
Hardware RT requires RTX 2000 series or newer (NVIDIA) or RX 6000 series or newer (AMD). For GTX 1060/RX 580 users, hardware RT simply isn’t available.
Our recommendation: Unless you’re targeting RTX 3060+ exclusively, stick with software ray tracing. Even RTX 2060 users often get better results from software RT due to the 6GB VRAM limitation.
The Settings That Actually Matter
Quality Presets: A Critical Reality Check
Here’s something the marketing doesn’t emphasize:
PresetLumen StatusLowDisabled (falls back to SSGI/DFAO)MediumDisabled (falls back to SSGI/DFAO)HighEnabled, targets 4ms budget (60 FPS)EpicEnabled, targets 8ms budget (30 FPS)
Lumen completely disables below High preset. If your target hardware can’t sustain High settings, you’re already in baked lighting territory — Lumen isn’t a fallback option, it’s all or nothing.
Key CVars for Optimization
The single most impactful setting is
r.Lumen.ScreenProbeGather.DownsampleFactor. This controls probe density—default is 16 (Epic quality) or 32 (High quality). Values range from 4-64; higher means better performance but lower quality. For aggressive optimization, try 48.Stochastic interpolation (
r.Lumen.ScreenProbeGather.StochasticInterpolation=1) provides roughly 30% performance improvement with minimal quality loss. AMD specifically recommends this setting.Spatial filter passes (
r.Lumen.ScreenProbeGather.SpatialFilterNumPasses) defaults to 3. Reducing to 1-2 saves time at the cost of slightly noisier results—often acceptable when TSR temporal filtering cleans things up anyway.For reflections,
r.Lumen.Reflections.MaxRoughnessToTrace (default 0.4) controls which surfaces get traced rays versus cheaper approximations. Lowering to 0.3 reduces work. Setting r.Lumen.Reflections.MaxRoughnessToTraceForFoliage=0 disables reflection tracing on foliage entirely—a smart optimization since grass and leaves rarely need sharp reflections.An Aggressive Optimization Profile
For pushing Lumen to its limits:
ini
r.Lumen.HardwareRayTracing=0
r.Lumen.ScreenProbeGather.DownsampleFactor=48
r.Lumen.ScreenProbeGather.StochasticInterpolation=1
r.Lumen.ScreenProbeGather.SpatialFilterNumPasses=1
r.Lumen.ScreenProbeGather.ShortRangeAO=0
r.Lumen.Reflections.MaxRoughnessToTrace=0.3
r.Lumen.Reflections.MaxRoughnessToTraceForFoliage=0
r.Lumen.Reflections.RadianceCache=1
r.ScreenPercentage=67
Combined with TSR upscaling from 67% internal resolution, you might hit playable framerates on GTX 1070/1080 hardware. On GTX 1060-class cards, expect 15–25 FPS regardless — the hardware is below minimum spec.
Common Problems and How to Fix Them
Light Leaking Through Walls
The number one Lumen complaint, and almost always a mesh construction problem. Lumen’s Distance Fields can’t accurately represent geometry thinner than about 10cm.
Fixes:
- Make walls at least 10cm thick using closed, watertight meshes
- Enable Two-Sided Distance Field Generation in Static Mesh Build Settings for thin meshes you can’t change
- Increase Distance Field Resolution Scale to 1.5–2.0 on problem meshes
- Separate walls, floors, and ceilings into individual meshes rather than importing entire rooms as single objects
If you’re using hardware RT and seeing leaking specifically with angled geometry, try
r.LumenScene.DirectLighting.HardwareRayTracing=0—there are known driver issues in some configurations.Flickering and Temporal Noise
Screen-space reflection artifacts often appear as flickering edges or vanishing highlights, particularly on shiny surfaces near screen edges. The fix:
ini
r.Lumen.Reflections.ScreenTraces=0
r.Lumen.ScreenProbeGather.ScreenTraces=0
This disables the SSR overlay on Lumen, eliminating most flickering artifacts. You’ll lose some fine detail in reflections, but the stability is usually worth it.
If you’re seeing noise specifically at shadow edges (from Virtual Shadow Maps), try:
ini
r.Shadow.Virtual.SMRT.RayCountLocal=8
r.Shadow.Virtual.SMRT.SamplesPerRayLocal=4
For Nanite-specific shadow noise, increase Fallback Triangle Percent or set Fallback Relative Error to 0 in the Static Mesh Editor. This gives the shadow system cleaner geometry to work with.
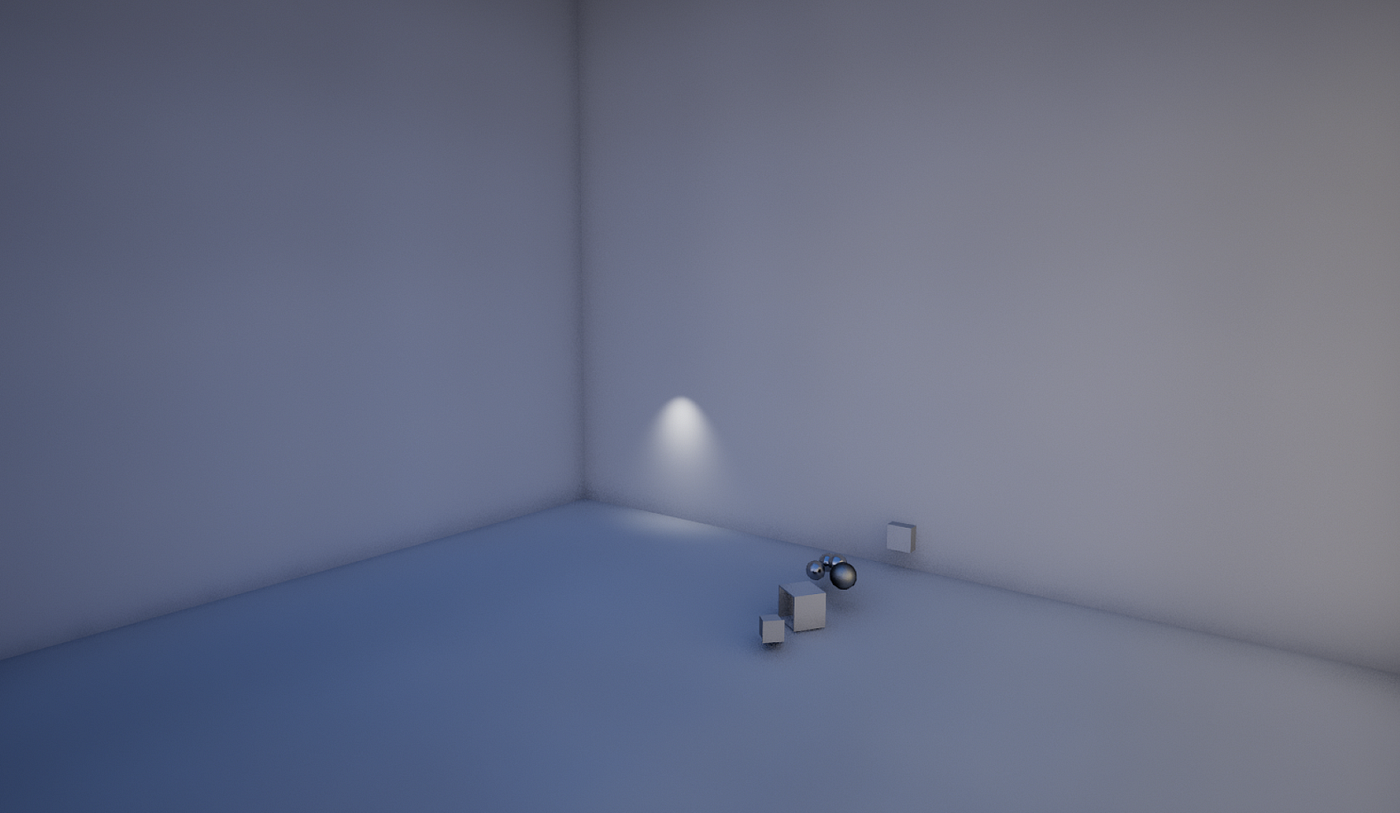
Dark Interiors
This one’s tricky because it’s often physically correct — Lumen accurately simulates how enclosed spaces receive less bounced light. Don’t fight the physics; work with it:
- Add emissive materials to light fixtures and enable Emissive Light Source on the mesh instance
- Use subtle fill lights with the Indirect Lighting Intensity multiplier cranked up
- Increase Lumen Scene Detail in Post Process Volumes to capture smaller contributing meshes
- Set up Auto Exposure properly with appropriate EV100 min/max values for interior/exterior transitions
The temptation is to crank up light intensities, but that just creates harsh contrast. Subtle emissives and properly configured exposure work better.
Performance Hitches
Stuttering usually comes from two sources: Surface Cache updates when scenes change rapidly, or Global Distance Field rebuilds when static meshes move.
Debug with
r.GlobalDistanceField.Debug.LogModifiedPrimitives=1 to identify which objects are triggering rebuilds. Common culprits: actors with incorrect Mobility settings, Nanite meshes without proper setup (Lumen is dramatically faster with Nanite enabled), and lots of overlapping instances.When to Skip Lumen Entirely
Lumen isn’t always the right choice. Use baked lighting instead when:
Targeting constrained hardware:
- Steam Deck (1.6 TFLOP GPU struggles to hit 20 FPS in Lumen demos)
- GTX 1060/RX 580-tier cards (below minimum spec)
- Mobile platforms (Lumen isn’t supported at all)
- Nintendo Switch
Needing guaranteed performance:
- Fighting games and competitive titles requiring locked 60 FPS (Tekken 8 uses baked lighting for this reason)
- VR projects (Epic explicitly states Lumen isn’t VR-ready)
Working with static environments:
- Arch viz with controlled camera paths
- Levels where lighting doesn’t need to change at runtime
Real-world testing shows 30+ FPS gains when switching identical scenes from Lumen to baked lighting. One developer reported a stylized village jumping from 20–25 FPS to 47–50 FPS on an RTX 3090. Dynamic GI is expensive.
What About Hybrid Approaches?
Here’s a critical finding that trips up many developers: Lumen disables all static/baked lighting contributions when enabled. You cannot mix Lumen GI with baked lightmaps in the same render path — Epic’s documentation explicitly states that precomputed lighting is hidden when Lumen is active.
What IS possible: using scalability settings to automatically switch between Lumen (high-end) and baked lighting (low-end). This requires designing and testing two separate lighting scenarios since scenes optimized for Lumen look significantly different without dynamic GI.
GPU Lightmass: The Baked Alternative
UE5’s GPU Lightmass offers fast baking via hardware ray tracing — build times approaching distributed Swarm builds with real-time preview during baking.
Setup: Enable the GPU Lightmass plugin, Virtual Texture Support, and Hardware Ray Tracing support — then disable Lumen. The two systems don’t play together.
The workflow tradeoff is clear: Lumen requires no build time but costs 2–8ms every frame; baked lighting requires upfront builds but costs nearly nothing at runtime.
For environments where lighting is mostly static with a few dynamic elements (a character walking through a pre-lit scene, for example), baked GI with real-time direct lighting often looks better and runs faster than trying to squeeze Lumen onto underpowered hardware. The “fully dynamic everything” approach sounds appealing but isn’t always the smartest path.
Hardware Reality Check
Let’s be direct about what to expect:
HardwareExpected FPS (1080p)Viable?GTX 1060 6GB15–25 FPSNo — below minimum specRX 580 8GB15–30 FPSMarginal at bestSteam Deck20–35 FPSLow settings onlyRTX 206030–45 FPSSoftware RT preferredRTX 306040–60 FPSFully viable
The GTX 1060 and RTX 2060’s shared limitation isn’t compute power — it’s the 6GB VRAM. Lumen scenes frequently require 8GB minimum, with 12–16GB recommended for complex environments.
Even an RTX 2080 Ti achieves only 20–25 FPS in demanding interior scenes with multiple lights. The hardware ceiling is real.
Practical Recommendations
If you’re on GTX 1060/RX 580: Disable Lumen. Use
r.DynamicGlobalIlluminationMethod=2 (SSGI) and r.ReflectionMethod=0 (screen-space reflections). Your hardware is below minimum specification, and forcing Lumen wastes development time you could spend on content. SSGI combined with good ambient lighting and strategic fill lights can still look great.If you’re on GTX 1070/1080: Software Lumen at High settings (not Epic) may work. Apply the aggressive optimization profile, render at 67% internal resolution with TSR, and design scenes with Lumen’s costs in mind — fewer overlapping instances, simpler materials, strategic emissives. Test your heaviest scenes frequently and have a fallback plan.
If you’re on RTX 2060: Software Lumen preferred over hardware RT due to VRAM constraints. The 6GB limit hurts more than the first-gen RT cores help. Monitor your VRAM usage in editor and be prepared to simplify if you’re hitting the ceiling.
If you’re on RTX 3060+: Full Lumen capability. Hardware RT becomes viable, though Software RT often provides comparable quality at lower cost. This is the tier where Lumen really shines, so take advantage of it — but remember your players may not all have equivalent hardware.
If you’re targeting Steam Deck: Disable Lumen. Successful UE5 games on Deck specifically disable Lumen and use classic GI modes to hit their performance targets. The Deck’s 16GB unified memory sounds generous until you realize it’s shared between CPU and GPU.
The Bottom Line
Lumen is a genuine workflow revolution — instant lighting iteration, physically accurate bounced light, no more painful light builds. But those benefits come with a GTX 1070 floor that excludes a significant portion of indie developers and their audiences.
The practical approach: use Lumen during development on capable hardware for the workflow benefits, but build in scalability fallbacks using baked lighting from the start. Games targeting broad hardware compatibility should treat Lumen as a high-end enhancement rather than baseline expectation.
Profile early, test on target hardware, and don’t assume Lumen helps until you’ve measured it. The best lighting solution is the one your players can actually run. Sometimes the old ways work better.